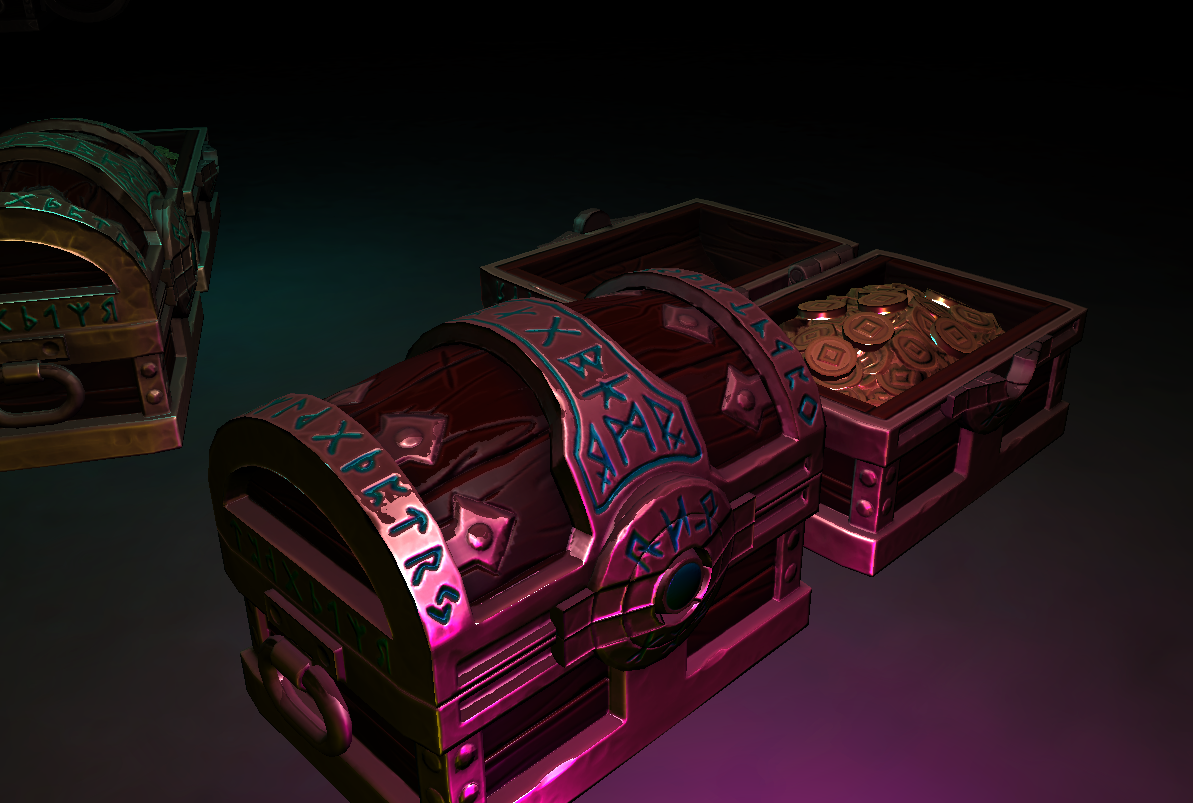
Specialization
Deferred Renderer written in Vulkan
Screenshot

Details:
- 5 Weeks Half-Time
- Written from scratch in c++
Subject and Purpose
The subject of my specialization course at The Game Assembly was to write a Deferred Renderer in Vulkan from scratch and the goal of this was to learn more about and further my skills in rendering and how the new graphics API’s work.
Differences in Vulkan
The main difference between Vulkan and a traditional API such as DirectX11 and OpenGL is the fact that you have to be explicit about basically everything that happens in your application, whether that be synchronizing the GPU explicitly or condensing all the fixed function state(rasterizer state, topology…) and shaders into one VkPipeline object.
Pipelines in Vulkan contain everything the GPU needs to know when rendering, and if you want to switch a shader in Vulkan you have to create a new VkPipeline object for each combination of shaders/stages, as opposed to doing something as trivial as context->PSSetShader(pixelShader) in DirectX11
Another thing that I can touch on are semaphores and fences, as they are the way that you will be synchronizing the GPU and CPU. They are objects which can be used for coordinating operations by having one operation signal and another operation wait for a fence/semaphore to go from their unsignaled state to a signaled state. The real difference between them is that fences can be waited on using functions such as vkWaitForFences and semaphores cannot. Therefore fences are used to synchronize operations between CPU and GPU, whilst semaphores only synchronize the GPU’s operations.
How it works
After I had a triangle up and running I worked on getting model loading which was surprisingly a small step in Vulkan, mostly because I already had vertex and index buffers already set up and thus I could just replace them and it was all well from there on out. Or so I thought, I had to figure out a way to link textures to a model - and decided upon giving each separate model their own descriptor set which specified the samplers and textures it would use.
Once I had models up and running I worked on using secondary command buffers for recording the model draw commands into, and then running vkCmdExecuteCommands(...) on the primary command buffer once I had filled all the secondary ones.
The reason I set it up in this manner is so that I eventually could generate all the secondary command buffers on different threads, and later submit it into the primary command buffer, allowing for more multithreading than would be possible in DX11 and OpenGL. This was however out of the scope of such a short project, but I hope to utilize this concept when I decide to work more on it.
I set up two different pipelines, one for offscreen rendering and one for the deferred composition. Using this I had the models bind the offscreen pipeline whilst recording the commands, so that we render it to the G-Buffer.
When inspecting a frame in RenderDoc the G-Buffer looks like this:

From left to right:
- Position
- Normal
- Albedo
- Material (roughness, metalness, ambient occlusion)
After this I run the deferred lighting pass by looping through all the lights and recording the commands into the deferred command buffer that I have setup:
//renderer.cpp
//Begin the render pass
vkCmdBeginRenderPass(cmdBuffer, &renderPassBeginInfo, VK_SUBPASS_CONTENTS_INLINE);
for (PointLight& light : aLights)
{
    //Render a fullscreen quad with additive blending to add the colors of the different point lights to the scene using the G-Buffer for lighting and albedo data.

    //I use push constants to push the light data to the GPU
    vkCmdPushConstants(cmdBuffer, myPipelineLayouts.deferred, VK_SHADER_STAGE_FRAGMENT_BIT, 0, sizeof(PointLight), &light);
    vkCmdBindDescriptorSets(cmdBuffer, VK_PIPELINE_BIND_POINT_GRAPHICS, myPipelineLayouts.deferred, 0, 1, &myDescriptorSet, 0, nullptr);
    vkCmdBindPipeline(cmdBuffer, VK_PIPELINE_BIND_POINT_GRAPHICS, myPipelines.deferred);
    vkCmdBindVertexBuffers(cmdBuffer, 0, 1, &myQuad.GetVertexBuffer().buffer, offsets);
    vkCmdBindIndexBuffer(cmdBuffer, myQuad.GetIndexBuffer().buffer, 0, VK_INDEX_TYPE_UINT32);
    vkCmdDrawIndexed(cmdBuffer, 6, 1, 0, 0, 1);
}
//End the render pass - present to backbuffer
vkCmdEndRenderPass(cmdBuffer);
This render pass performs lighting and additively applies it to the (when cleared) black image, thus correctly blending the results. Currently the only type of light I have support for are Point Lights, due to a lack of time.
The deferred shader is mostly very straightforward:
    //deferred.frag
    //Grab values from G-Buffer such as normal, position, albedo, roughness, etc...
    //Compute toEye vector and toLight, as well as the distance
    ...

    //Epic's falloff equation
    float falloff = pow(clamp(1 - pow(toLightDistance / push.light.radius, 4), 0, 1), 2) / (toLightDistance * toLightDistance + 1);

    //Estimate specular
    vec3 spec = mix(vec3(0.04), albedo, vec3(material.g));

    //Run some simple PBR and then multiply with the falloff
    vec3 color = ComputeLight(albedo, spec, normal, material.r, push.light.color, toLight, toEye) * falloff;

    //Return the color
    outFragcolor = vec4(color, 1.0);
To use the separate passes I needed to call VkQueueSubmit twice, with different semaphores and commandbuffers:
    //renderer.cpp
    //Wait until we have an image, and then signal that
    submitInfo.pCommandBuffers = &myCommandBuffers[idx];
    submitInfo.pWaitSemaphores = &myImageAvailableSemaphores[myCurrentFrame];
    submitInfo.pSignalSemaphores = &myOffscreenSemaphore;
    VkResult result = vkQueueSubmit(myGraphicsQueue, 1, &submitInfo, VK_NULL_HANDLE);
    if (result != VK_SUCCESS) ...

    BuildDeferredCommandBuffers(mySwapChainFramebuffers[idx]);

    //Wait for the offscreen rendering to be done, and signal the render finished semaphore when done, so we can present to the backbuffer.
    submitInfo.pWaitSemaphores = &myOffscreenSemaphore;
    submitInfo.pSignalSemaphores = &myRenderFinishedSemaphores[myCurrentFrame];
    submitInfo.pCommandBuffers = &myDeferredCommandBuffer;
    result = vkQueueSubmit(myGraphicsQueue, 1, &submitInfo, myInFlightFences[myCurrentFrame]);
    if (result != VK_SUCCESS) ...
Final product

Thoughts
Further extensions and features to this renderer would be the ability to perform Post-Processing and add different light types, such as Directional Lights, Spot Lights and Area Lights, and also modifying the API to be more user friendly, as it isnt very easy to use and modify in it’s current state.
The major constraint on what could be done was the lack of time to experiment with a bunch of different techniques. Even though I was under such short time constraints I still felt that I learned a tremendous amount and have gotten a far better insight into how modern GPU’s work, much more so than I did while writing our engine in DirectX11.
This post is a quite slimmed down version of how it works, as I couldnt fit everything necessary for deferred shading in Vulkan into one post.
Resources
I found this website to be a great starting point for anyone interested in Vulkan, as everything was thoroughly explained along the way and I got a general understanding of how the pipeline in a Vulkan application can be.
Here is the vulkan spec which should be referred to quite often as soon as you encounter something you don’t quite understand or want to know about.
This was very helpful to take a look at when trying to understand more advanced Vulkan concepts.
Here’s a link to the src: source